(TimeStory 3 is in progress, and will contain some significant updates to the app. I’ve decided to write about major milestones and interesting programming challenges along the way.)
Note: Some posts in this series will be more product-focused, and of interest to non-developer TimeStory users, but this post is purely about the code!
Like many productivity apps on the Mac, TimeStory provides an Inspector for editing details of the currently-selected objects (events, images, etc.). The Inspector appears as a panel docked on the right side of a document’s window, and presents a vertical stack of fields, divided into subsections. Pretty standard.
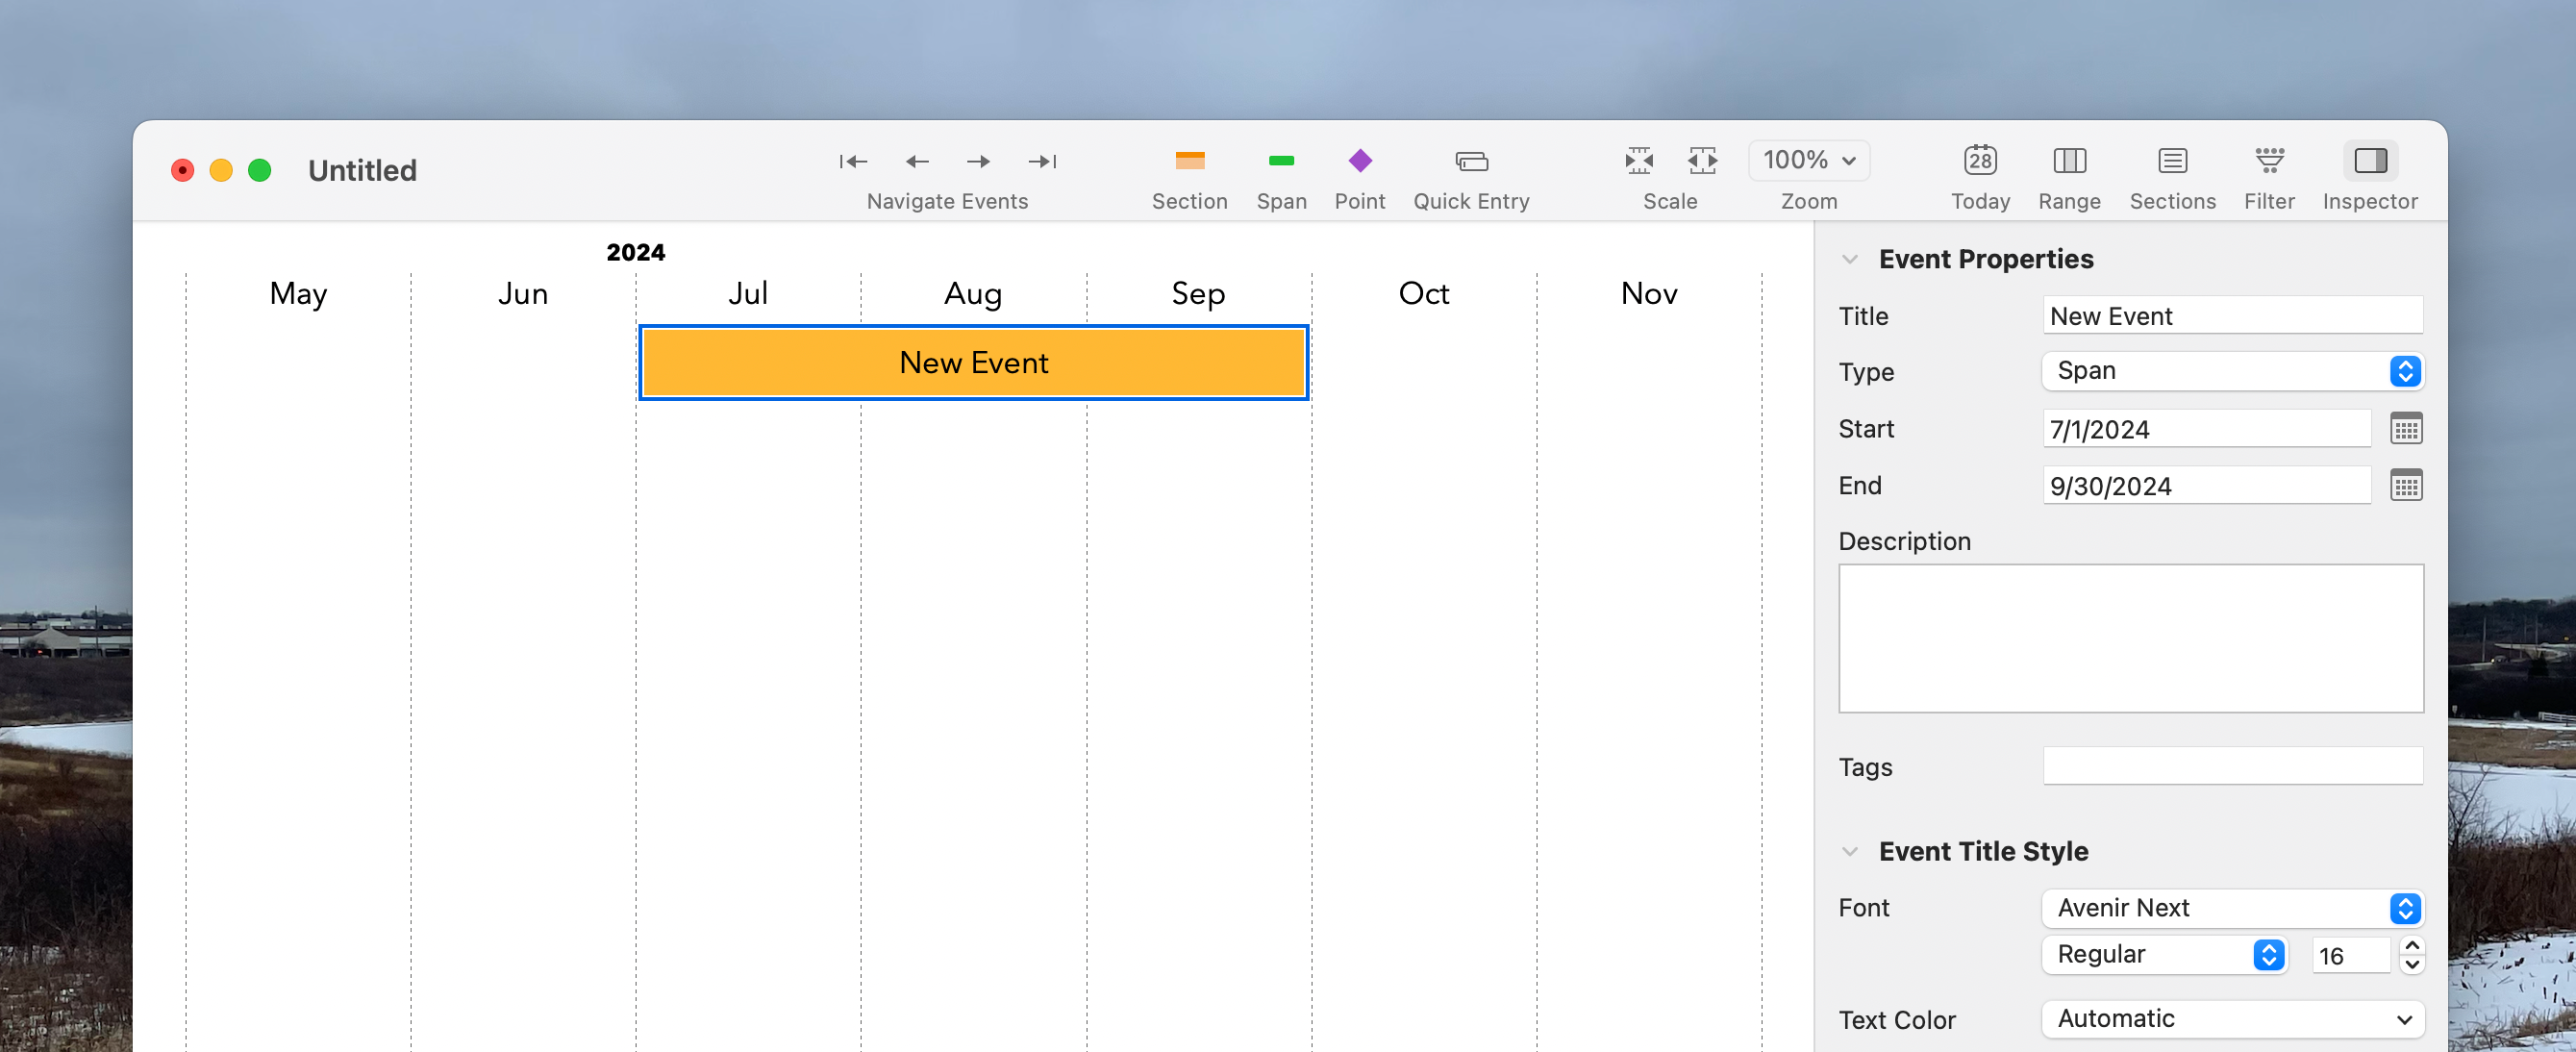
Note: this is a V3 screenshot. Regular app users may spot some changes in progress…
Each field in the Inspector is generally a separate AppKit view controller; the specific set of fields, and their contents, adapt to the current selection. But the code which constructed, reconfigured, and updated these fields had grown a bit complex and cumbersome. Before starting on too much V3 feature work, I wanted to try and streamline this, and ended up taking an approach inspired by SwiftUI. (I don’t use SwiftUI itself at all in TimeStory, at least not yet.) It worked out quite well.
A New Declarative Design
- Each subsection in the Inspector is now represented by an inspector module which implements a body method (much like a SwiftUI view). These bodies produce a list of inspector items, each of which describes a field’s configuration and contents. Importantly, they are just descriptions, and not the actual view controllers themselves.
- Inspector module bodies are written using a result-builder syntax. This lets me write those item lists comfortably, with conditionals or loops as needed.
- Whenever the selection or document model changes, all applicable module
bodies are re-executed. The main controller then diffs the result against
the previous result, using the standard
CollectionDifferenceAPIs. This diff is then used to drive updates to the real view controllers.
Here’s what a body looks like.
    func body(_ env: InspectorEnvironment) -> [AnyInspectorItem] {
        EnumPickerItem(title: "Start Shape", id: "eventStartShape")
            .withImageRenderer { $0.renderLeftExample() }
            .boundTo(\EventStyle.leftEndStyle, from: env)

        EnumPickerItem(title: "End Shape", id: "eventEndShape")
            .withImageRenderer { $0.renderRightExample() }
            .boundTo(\EventStyle.rightEndStyle, from: env)

        ColorItem(title: "Color", id: "eventGraphicColor")
            .boundTo(\EventStyle.timeboxColor, from: env)
    }
Each Item type is just a structure which captures the field’s type,
configuration, and contents, along with any callbacks. Each one implements the
InspectorItem protocol, through which the main view controller can
construct, release, and update the field-level view controllers themselves.
There’s also a new property-binding mechanism, seen here with the boundTo
calls. This started out looking more like SwiftUI, with property wrappers
which projected bidirectional bindings, but I found it clearer to just pass an
explicit environment into the binding, and use the type of the keypath to
specify what in the model the binding should access.
Results
I’ve since started working on feature content with new Inspector fields, and it’s much more pleasant. I also picked up a few general improvements, such as animated layout changes and collapsible Inspector sections, which were made simple by the smaller code size and explicit diff data structure. Overall, quite worth the few days’ work.
Meanwhile, I was able to use my existing view controllers as they were, and to plug into my model and overall app framework without any adapters. I’ve considered using SwiftUI itself for the Inspector at some point, but these points, combined with greater debuggability and the ease with which it came together, sold this option. (I’ll use 3MC to keep my SwiftUI skills sharp, for now.)